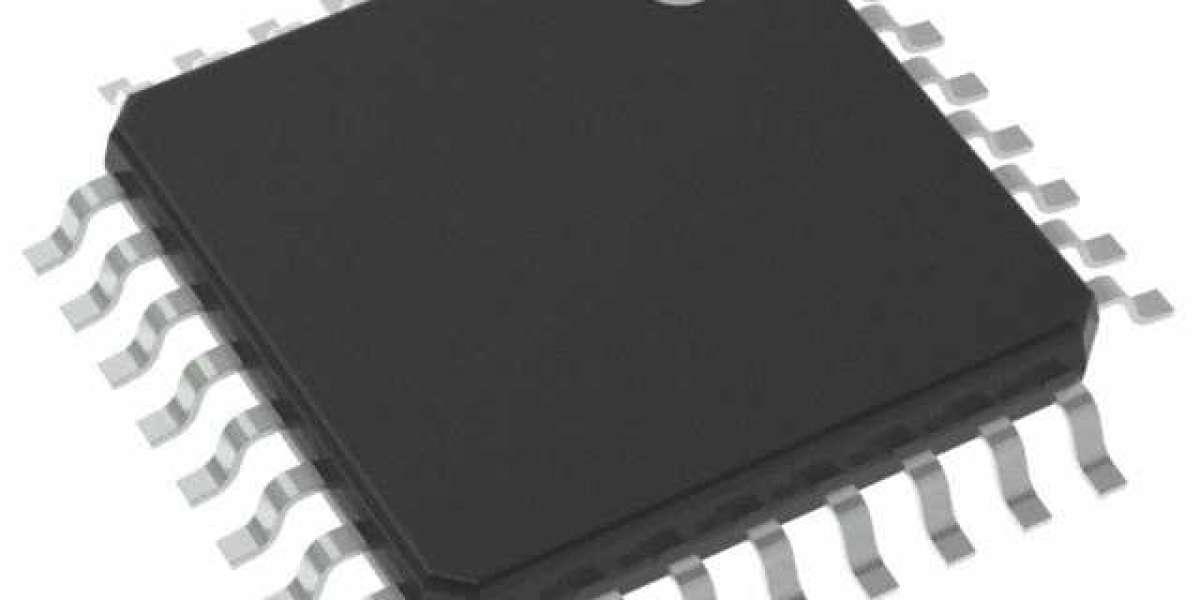
Arduino projects have revolutionized the DIY electronics scene by making microcontroller programming accessible to everyone. Central to many Arduino boards is the ATmega328P-AU, a versatile and powerful microcontroller. This guide will help you get the most out of this microcontroller, whether you're a novice or an experienced developer.
1. Overview of ATmega328P-AU
The ATmega328P-AU is an 8-bit microcontroller from Atmel (now part of Microchip Technology). It's known for its low power consumption and rich set of features, including:
- Core: AVR 8-bit
- Memory: 32KB Flash, 2KB SRAM, 1KB EEPROM
- Clock Speed: Up to 20 MHz
- Peripherals: Digital I/O, PWM, ADC, USART, SPI, I2C
This microcontroller is widely used in Arduino Uno boards and is the brain behind countless projects.
2. Setting Up Your Development Environment
Choosing Your Development Board
To work with the ATmega328P-AU, you'll need an Arduino board, such as the Arduino Uno, which features this microcontroller. Ensure you have the following tools:
- Arduino Uno Board
- USB Cable: For connecting the Arduino to your computer
- Breadboard and Jumper Wires: For prototyping circuits
3. Installing the Arduino IDE
Downloading and Installing
- Download Arduino IDE: Visit the Arduino website and download the latest version of the Arduino IDE for your operating system.
- Install the IDE: Follow the on-screen instructions to install the IDE on your computer.
Setting Up the IDE
- Open the Arduino IDE.
- Select the Board: Go to Tools Board and select "Arduino Uno".
- Select the Port: Go to Tools Port and select the port your Arduino is connected to.
4. Writing Your First Arduino Program
Creating a New Sketch
- Open Arduino IDE and create a new sketch.
- Write the Code: Start with a simple "Blink" program that toggles an LED on the Arduino board.
void setup() {
pinMode(LED_BUILTIN, OUTPUT); // Initialize the LED pin as an output
}
void loop() {
digitalWrite(LED_BUILTIN, HIGH); // Turn the LED on
delay(1000); // Wait for a second
digitalWrite(LED_BUILTIN, LOW); // Turn the LED off
delay(1000); // Wait for a second
}
5. Uploading Code to the ATmega328P-AU
Connecting the Board
- Connect your Arduino Uno to your computer using the USB cable.
- Ensure the board is recognized by your computer.
Uploading the Program
- Verify the Code: Click the verify button in the Arduino IDE to compile your code.
- Upload the Code: Click the upload button to upload your program to the Arduino board.
6. Using Libraries with ATmega328P-AU
Installing Libraries
Libraries in the Arduino ecosystem extend the functionality of your programs. To install a library:
- Open Arduino IDE.
- Go to Sketch Include Library Manage Libraries.
- Search for the desired library and click install.
Using a Library
Here’s an example using the LiquidCrystal library to control an LCD:
#include LiquidCrystal.h
LiquidCrystal lcd(12, 11, 5, 4, 3, 2);
void setup() {
lcd.begin(16, 2);
lcd.print("Hello, World!");
}
void loop() {
lcd.setCursor(0, 1);
lcd.print(millis() / 1000);
}
7. Advanced Programming Techniques
Interrupts
Use interrupts to handle events without polling, making your code more efficient.
void setup() {
attachInterrupt(digitalPinToInterrupt(2), handleInterrupt, RISING);
}
void handleInterrupt() {
// Interrupt service routine
}
Timers
Utilize timers to create precise delays and perform tasks at regular intervals.
8. Power Management
Sleep Modes
Implement sleep modes to reduce power consumption in battery-powered projects.
set_sleep_mode(SLEEP_MODE_PWR_DOWN);
sleep_enable();
sleep_mode();
Watchdog Timer
Use the watchdog timer to reset the microcontroller in case of a malfunction.
wdt_enable(WDTO_8S); // Set watchdog timer to 8 seconds
9. Practical Applications
Home Automation
Control lights, temperature, and security systems in your home.
Wearable Technology
Develop wearable devices like fitness trackers or smart watches.
IoT Projects
Create Internet of Things (IoT) projects that communicate with other devices and systems.
Conclusion
Using the ATmega328P-AU in Arduino projects opens up a world of possibilities for DIY electronics enthusiasts and professionals alike. By following this guide, you can set up your development environment, write and upload programs, and explore advanced features of this versatile microcontroller. With practice and creativity, you can bring your ideas to life and create amazing projects with the ATmega328P-AU.


